
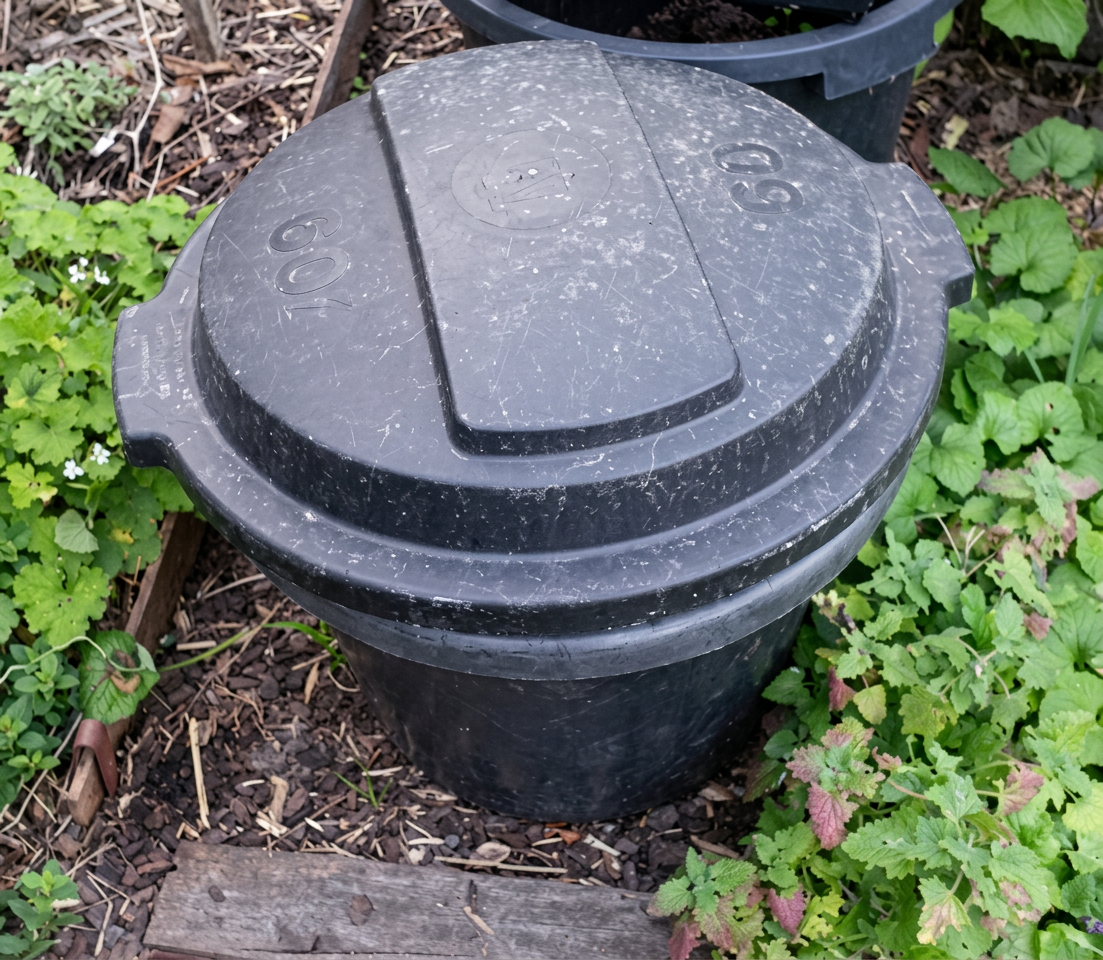
What should you do with your bokashi bin contents if you lack a large garden to dig them into? As mentioned in the previous Bokashi Composting article, you can always add the processed bokashi food waste to your compost bin or worm farm (gradually, to help the worms adapt!). But what if you don’t have access to either? Luckily, you can transform your bokashi bin contents into dark, nutrient-rich soil in just a few weeks using a simple DIY device called a Bokashi Soil Generator. Despite its fancy name, the process is surprisingly simple, and the equipment is easy to find anywhere.
Remember that fermented bokashi can’t be stored long-term in its finished form. However, once it’s converted into bokashi soil, it can be stored and used as a planting mix or soil amendment. You can incorporate it into pots or garden soil, just like compost – either by digging it into planting holes or mixing it into the soil around existing plants.
Building a Bokashi Soil Generator
To build a Bokashi Soil Generator, you will need the following materials:
- Any large container with drain holes or without a bottom to use as the soil generator – a 40-50cm wide plastic pot is ideal.
(In terms of size, choose a container large enough to contain your bokashi contents and a similar volume of soil) - A lid or cover for your container (does not need to be airtight or a good fit)
- Your completed bokashi container contents
- Garden soil (or used potting medium/potting mix that you wish to recycle)
- Compost (optional)
The construction steps are as easy as filling a pot with dirt!
Step 1: Set Up Your Container
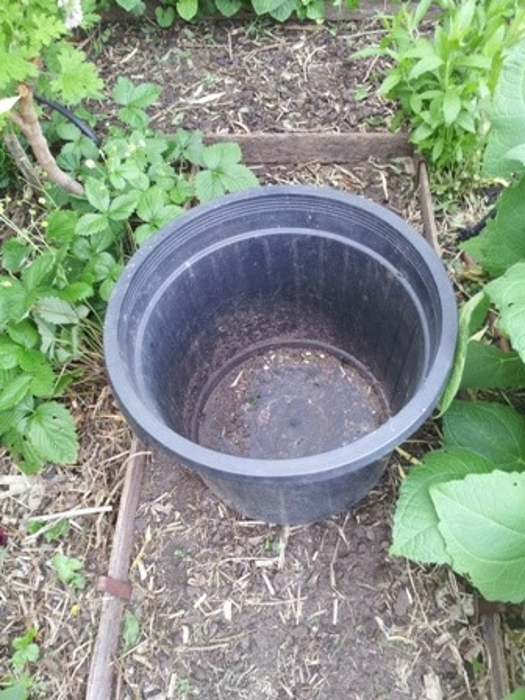
Select a container with drainage holes or one without a bottom to use as the soil generator – any recycled container will do.
Place the soil generator container over a garden bed or path so any liquids can drain into the soil.
Step 2: Gather Your Compost
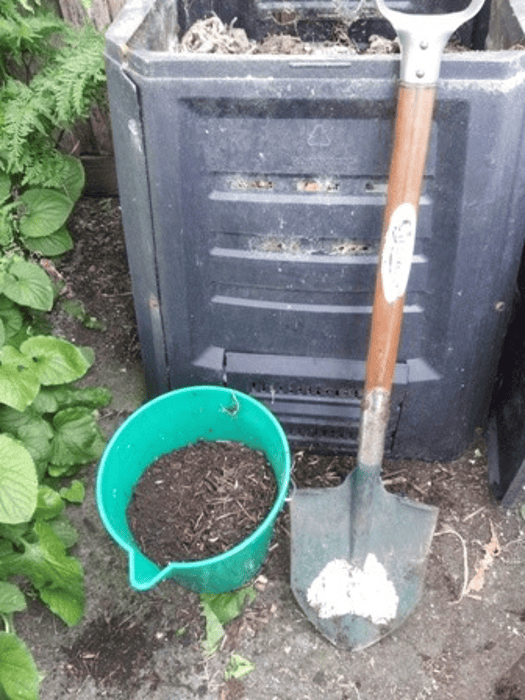
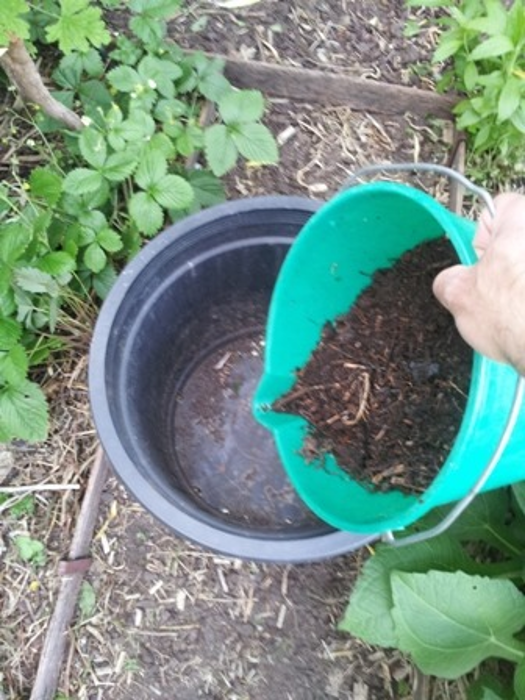
Next, gather some compost by scooping it from your compost bin or heap. Compost is optional, but it helps by introducing beneficial microbes that speed the transformation into soil. If you don’t have compost, use soil or recycled potting mix instead.
Step 3: Fill the Container One-Third Full
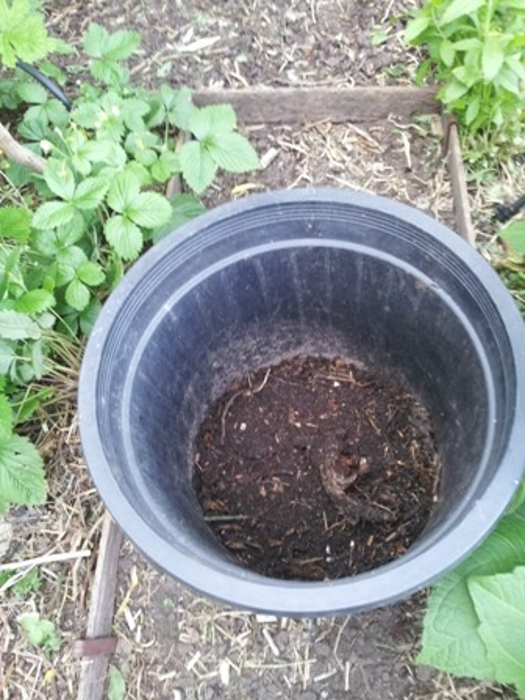
Pour the compost (or soil or recycled potting mix) into the container until it is about 1/3 full.
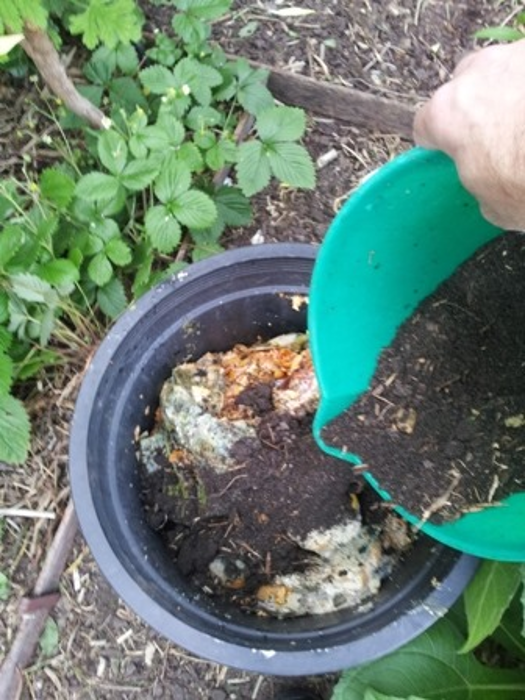
Step 4: Add the Bokashi Contents
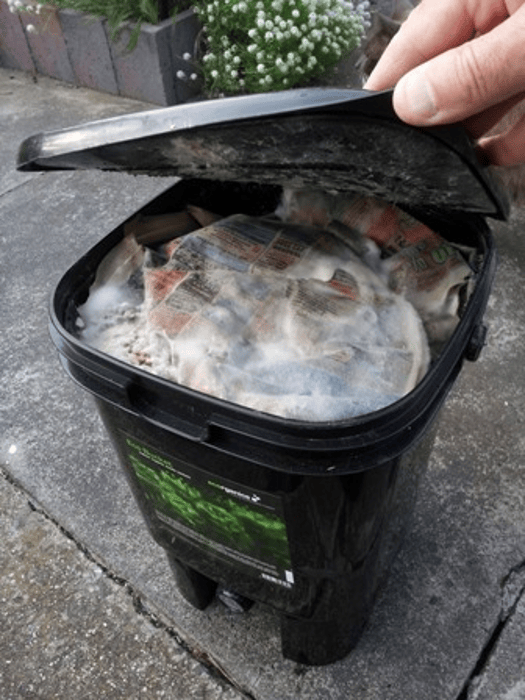
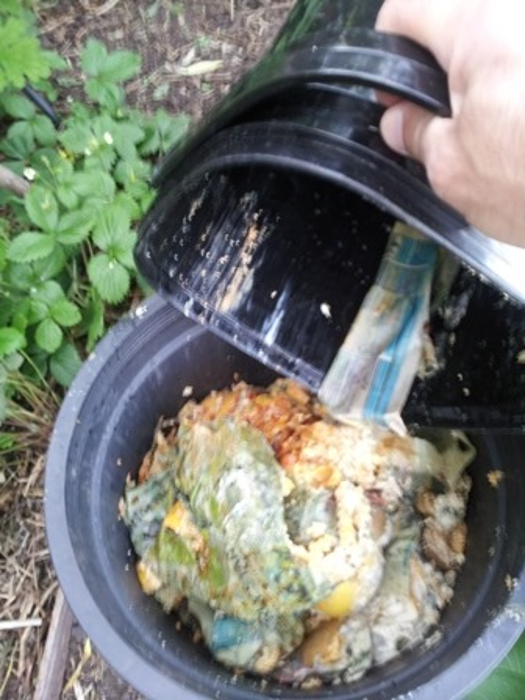
Empty the processed bokashi food waste into the container.
Step 5: Mix the Materials (Optional)
Mix the materials together if you want to produce bokashi soil in around 4 weeks. Alternatively, if you prefer not to mix and want to produce bokashi soil in around 12 weeks, leave it alone and proceed to the next step.
Step 6: Cover with Soil
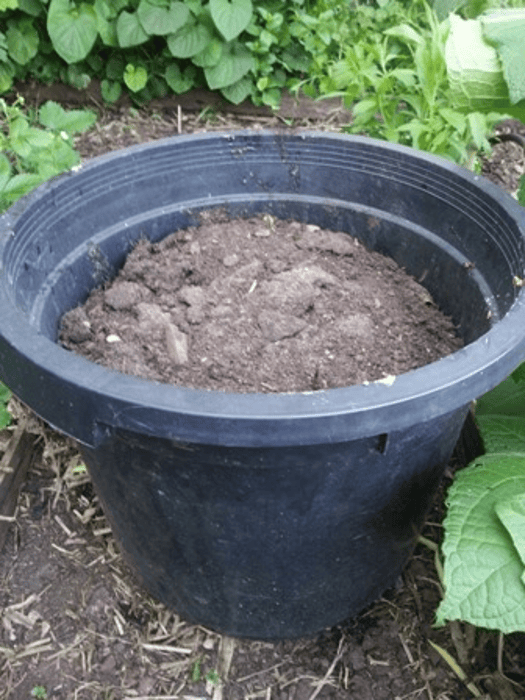
Pour garden soil (or recycled potting mix) over the bokashi contents (mixed or unmixed) to cover them. This creates a ‘sandwich’ of three layers: compost (or soil or recycled potting mix) at the bottom of the container, the bokashi contents in the middle, and soil (or recycled potting mix) on top.
Step 7: Cover and Wait
Cover the container with a lid or cover to stop it drying out in warm weather or flooding in wet weather. The lid or cover can be loose-fitting and does not need to be airtight. Even a piece of board will suffice. Now let it sit for four weeks if mixed, or twelve weeks if unmixed, and let the microbes do their work. That’s basically it!!
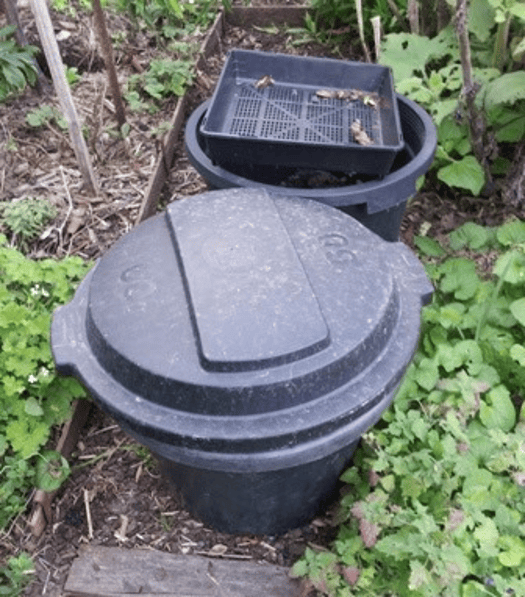
The Results: What Bokashi Soil Looks Like
Step 8: Check and Confirm Completion
Completed, well maybe…
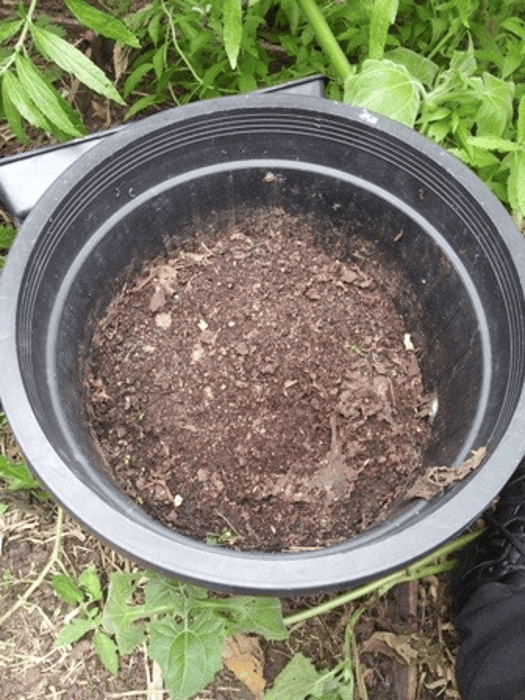
A quick check shows there are still some visible ingredients. Leave for a bit longer…
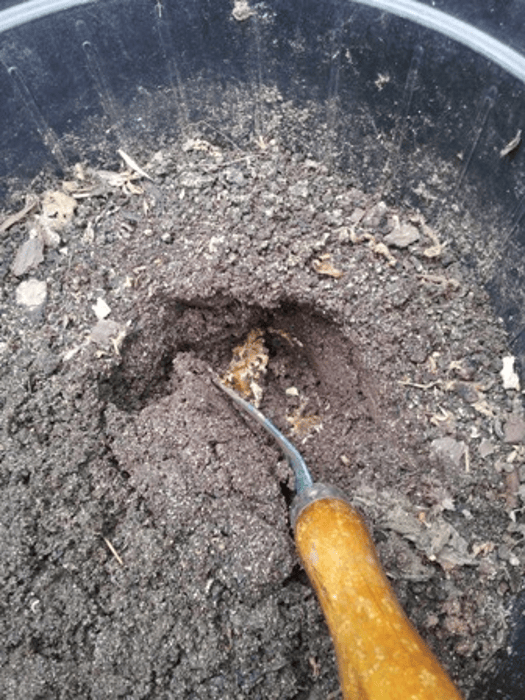
Truly complete. The final product is a rich, dark bokashi soil where the original materials are no longer identifiable. The surface debris consists of wind-blown particles and tiny seedlings sprouting from seeds brought in by the wind, indicating the soil is fertile enough to support seed growth.)
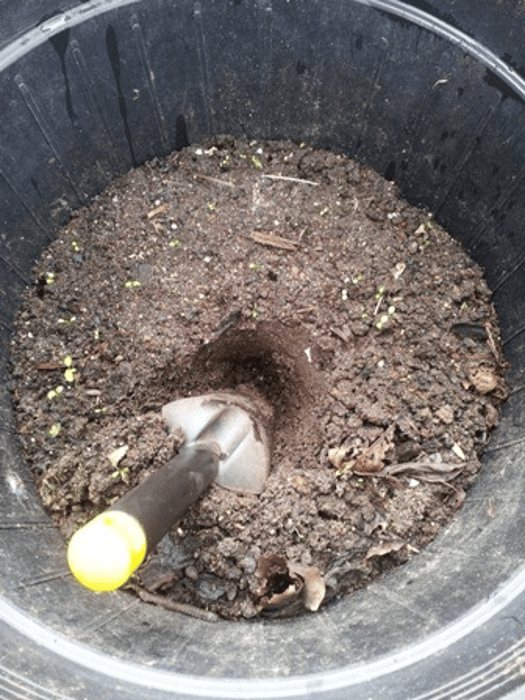
Using a bokashi soil generator, you can process bokashi-fermented food waste to convert it into soil that is ready to use in your garden or for container plants, making it ideal for people with small gardens.
Even for those with gardens who can’t be bothered digging (like me, a no-dig gardener), this is a great way to produce rich organic matter to incorporate into your garden and improve your soil. A no-dig gardener applies fertilizer and soil amendments like bokashi soil, compost, or worm castings to the top of garden beds at the beginning of spring and autumn. Then, they cover everything with a thick layer of mulch. That’s all the soil work needed for the following season’s gardening!
References:
Adam Footer – “Bokashi Composting; Scraps to Soil in Weeks”, New Society Publishers, 2014.


Fantastic article! I’d been wondering if something like this could work. My brother rents in a place with lots of space but no garden beds, and he’d been wondering about the different options for composting that doesn’t require a permanent structure. I reckon this is might be a good solution!
Thanks so much for this article. Here’s what I did with my waste. https://anitaelise.com/2017/09/15/kitchen-waste-composting-at-home/ The instructions said to layer cocopeat with the fermented pickle and it would be ready in 2 weeks. I found the older layer was composted, though a little wet, but the newer layer in the bin was not completely done. I think I’ll follow what you say and wait for 12 weeks until it is soil. Only, that is going to mean I need a lot more storage than I’d planned (I live in a flat/appartment and compost in my balcony.
I’m also wondering if I could keep my original bin half full, covered with newspaper to prevent air exposure, and do smaller quantities. I found the full bin too big for my waste.
Hi Eliza, you can thoroughly mix up the fermented bokashi waste with your soil or compost then cover it with a layer over the top to speed up the process.
Your bokashi bin has to be sealed airtight until it’s ready, covering with newspaper won’t be enough, the lid needs to be on firmly. Bokashi bins come in various sizes, the small ones are quite compact.
Thanks! My bokashu has been successful
Excellent! That’s great news, thanks for letting us know that it worked! 🙂
Hi! Does anybody know if this will work with spoiled/failed bokashi?
If the bokashi hasn’t worked, it will still be a mix of the ingredients, and what’s in the mix makes all the difference.
There are two possible scenarios here:
1. The bokashi mix contains ingredients which can’t be composted, and you’ll be trying to compost them, which is not a good idea!
2. The bokashi mix contains only ingredients which can be safely composted, and you’ll be trying to compost, which is not a problem, bit they’ll compost faster in a compost bin
What should I do if there are maggots in the soil factory? I had maggots in my precompost bokashi bucket in which I thought they would just die if I put themm all in the soil. But the maggots are still alive and it has been 2 weeks since I mixed them in the soil. I have seen them a few times at the top of the soil when i opened the lid and then the next day, they disappeared back down the soil. Should i pour boiling water into the soil but this might affect the good microbes of the soil?
It’s important to let the bokashi bin contents to sit for a week before using them, this ensures that they’re completely fermented and won’t attract pests.
How did maggots get into the bokashi bucket? The fermentation process in anaerobic, that is, it only works in the absence of air, so the lid should be sealed all of the time. If you leave the lid off the microorganisms in the bokashi mix cant do their work.
That said, if maggots got in, just bury the bokashi all in the ground, it will continue fermenting and flies can’t live underground!
Hello!
Does the Soil Generator have to have drain holes? I’m sure there is a good reason they need to be there, so just curious. We live in an apartment with a large tiled courtyard, but not lawn or soil ground. Maybe I could put a large saucer or tray under the BSG to catch anything that drains? Just don’t want to ruin the tiles.
We’ve been successfully making bokashi scraps for awhile now, and are keen to produce our own soil now for pot plants and eventually large planters we’ll be getting.
Hi Amy, the drain holes are just there to release any excess liquids to prevent the end product becoming waterlogged when the bokashi mixture breaks down into soil. You could possibly just place a tray of some sort underneath so you don’t stain your tiles. If you give it a go, please let me know how it goes. Thanks, Angelo
I took inspiration from this article as my soil is clay/rock and took much effort to dispose of my 15 liter Bokashi bin contents.
I am blessed with much garden waste and put a significant amount through a 5HP chipper/mulcher. I double chip the waste to make it fine (decompose quicker) and place 3 pitch forks of this along with the Bokashi bin contents into a 220 liter plastic compost bin. Once mixed through the Bokashi contents disappears in about 2 weeks. The compost bin generates significant heat (happy microbes)
I keep filling the 220 liter compost bin as above till its full and then leave it alone for a while. Worms appear in 4 to 6 weeks in the compost bin. I then put on veg garden. Pretty quick low grade compost.
I have two 220 liter bins which I rotate (one filling and one I draw down). Make shure you cover the bottom of the bin with 1/2 inch wire mesh and fold this around the bottom 10cm of the bin to keep rats out.
Hello, greetings from Germany. I enjoy your blog a lot. Very scientific, with a lot of valuable advice and not full of garden myths like so many others, thank you very much. One thing that is concerning me: On your blog I read that a low pH level can dissolve aluminium from perlite. If I add earth that contains a lot of perlite to my Bokashi is there a risk that aluminium might get dissolved? And can this aluminium contaminate my vegetables?